
When I started writing these posts on Azure Active Directory and Sitecore Identity, I had no idea how popular they'd be. With Sitecore Identity still new, Azure Active Directory rapidly changing, and the need for user data in Sitecore ever present, I guess I shouldn't be surprised. I do hope that they've been helpful for you.
This post is part of a series on configuring Sitecore Identity and Azure AD. You can view all posts in this series, covering setup to configuration, here.
Today's post was inspired by Mark Cassidy's recent post on the Sitecore Stack Exchange: how do I use custom (or, if not even custom, but nonstandard claims from Azure's standpoint) for mapping or profile population in Sitecore? If the claim you're looking for is in the set of optional claims that Azure AD supports out of the box, you would be best served just setting those options as mentioned in that article. But what about attributes in AD that aren't part of that set? Or attributes that are custom schema extensions for your Azure AD instance?
I'll post one method I have tried here that worked for me, with a very important caveat: The functionality I'm using in this post is available in Azure, but that may change. Azure is a rapidly evolving platform, and advice about how to go about using Azure is significantly out of the scope of this blog. Your mileage may vary – significantly even.
Introducing the Claim Mapping Policy
The functionality we're going to use to get this done is Claim Mapping Policies. These policies can be used to change or configure the claim set emitted by Azure AD to relying applications. This feature is currently available in live Azure, but doesn't have a portal interface, so we'll be using the AzureAD Powershell Cmdlets to get this done. As prefaced by Microsoft in the above document:
This capability currently is in public preview. Be prepared to revert or remove any changes. The feature is available in any Azure Active Directory (Azure AD) subscription during public preview. However, when the feature becomes generally available, some aspects of the feature might require an Azure AD premium subscription. This feature supports configuring claim mapping policies for WS-Fed, SAML, OAuth, and OpenID Connect protocols.
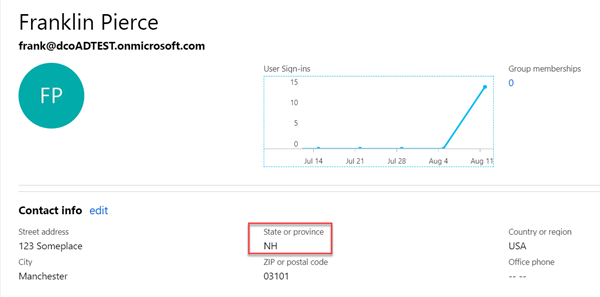
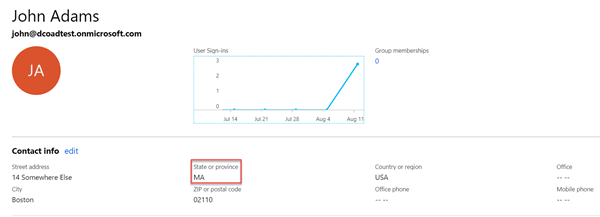
For our exploration of this feature, I'm going to do something silly: I'm going to allow all users from the great state of New Hampshire to log in to Sitecore as administrators. Let's just assume that's a good idea for the sake of this blog, but it's important as the state claim is a non-standard claim that Azure AD doesn't pass by default. We're going to force it to do so by creating a custom Claim Mapping Policy.
Connecting to Azure AD and Creating a Policy
To get started, make sure you have the preview version of the AzureAD Powershell Cmdlets installed (again, as of this writing, the Claim Mapping Policy is in preview). From an administrator Powershell window:
Install-Module -Name AzureADPreview
Once installed, connect to your AzureAD instance using Connect-AzureAD. This will prompt you to authenticate, and when complete, provide you with the TenantID of the domain you're logged in to. If you have multiple tenants associated with your account, be sure to use Connect-AzureAD -TenantID <guid-of-tenant-you-want-to-connect-to> instead.
From here, I'm going to create a simple Claim Mapping Policy using the Add-AzureADServicePrincipalPolicy command. I'll share mine below that's asking to take the state attribute and add that to the mapped claims. Yours may vary – be sure to check the linked documentation for more information.
New-AzureADPolicy -Definition @('{"ClaimsMappingPolicy":{"Version":1,"IncludeBasicClaimSet":"true", "ClaimsSchema": [{"Source":"user","ID":"state","JwtClaimType":"state"}]}}') -DisplayName "AddStateToClaims" -Type "ClaimsMappingPolicy"
When that completes, the cmdlet will spit out the policy and the Object ID. We'll need that for the final piece, so copy that out somewhere safe.

Apply Policy to your Sitecore Identity Application
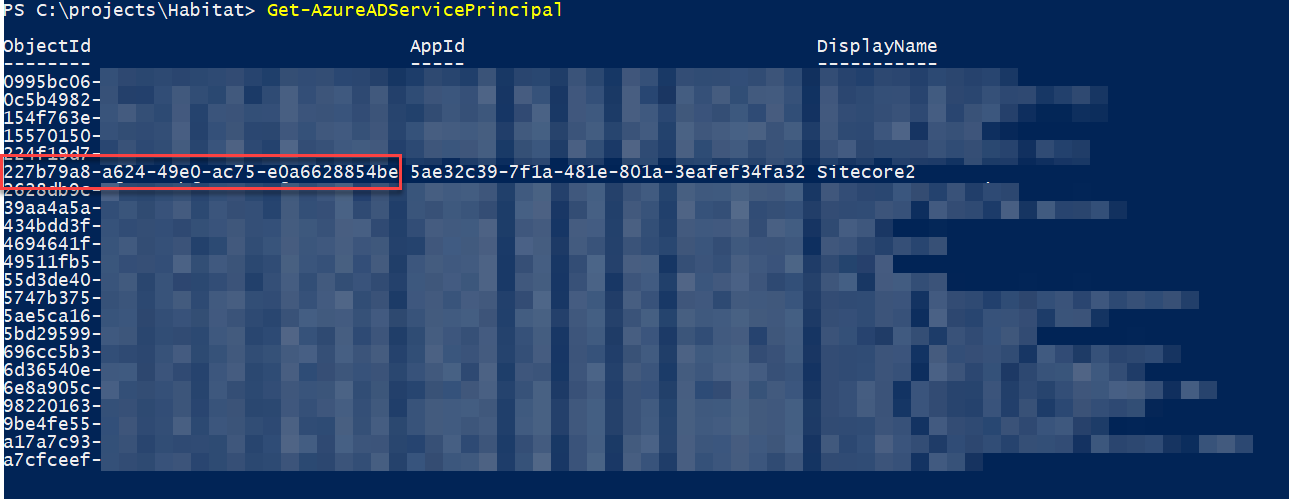
Next, we'll apply the policy to our application in Azure AD that represents our link to the Sitecore Identity server. We'll need to get the ObjectID for that application before running our next command – and no; in their infinite wisdom, this isn't the same as the Application ID you can find in the portal. Nope, it's a different identifier! We'll get that identifier by running this command (as always, from an elevated Powershell Command prompt):
Get-AzureADServicePrincipal
This will list out all the SP's in your Azure AD instance. You can find the DisplayName or AppId in the list, and copy out the associated Object ID.
Now (finally!) we can associate our Policy with our Sitecore Identity service principal via the following command:
Add-AzureADServicePrincipalPolicy -Id <Object-Id-Of-Sitecore-Identity-Principal> -RefObjectId <Object-Id-Of-Claim-Mapping-Policy>
Configure Application to Allow Mapped Claims
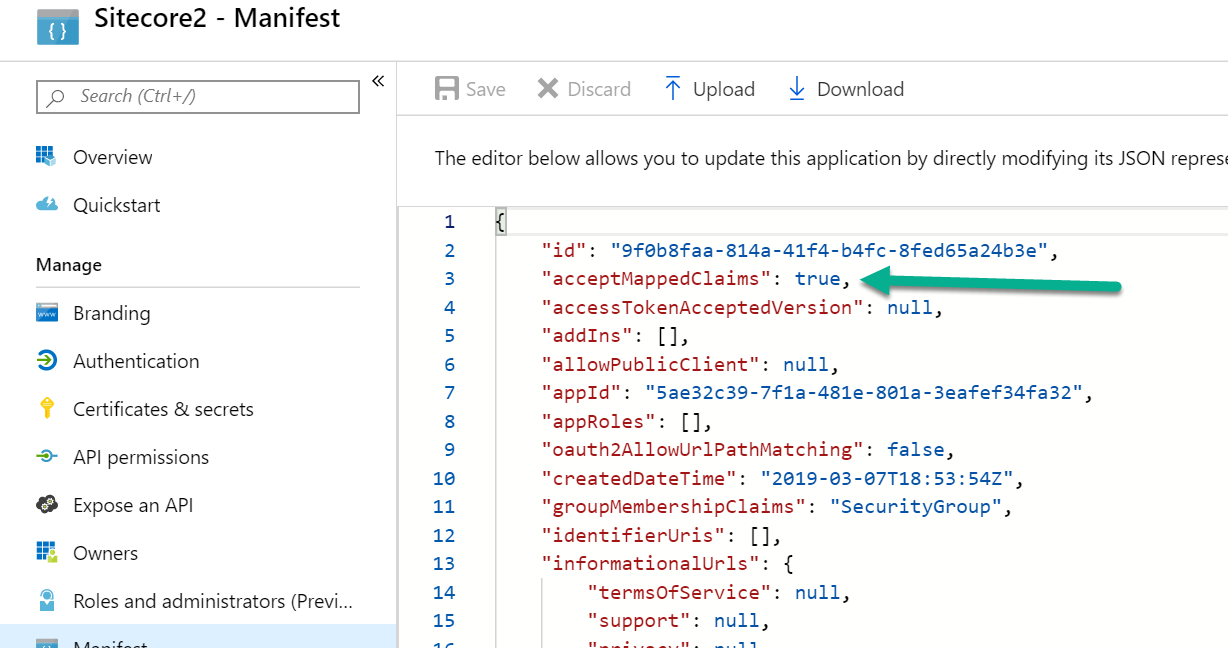
Now, let's hop over to the Azure portal and open up the Sitecore Identity application in the Azure AD interface. From there, open the Manifest blade. We'll want to change the "acceptMappedClaims" property to true. This will allow our policy to execute and pass claims on to our Sitecore Identity server.
Configure Mapping in Sitecore Identity
Now we're going to do pretty much exactly the same thing as we've done in prior posts: We're going to map that claim in Sitecore Identity, inspect the value, and map the user to the administrator group if it matches. Rather than recap that post, I'll just quickly show the change I made in the Sitecore.Plugin.IdentityProvider.AzureAd.xml file that I've put in place.

Do remember to restart your Sitecore Identity instance after making configuration changes – those XML's don't operate as a watched directory a la .NET applications. A manual restart is necessary!
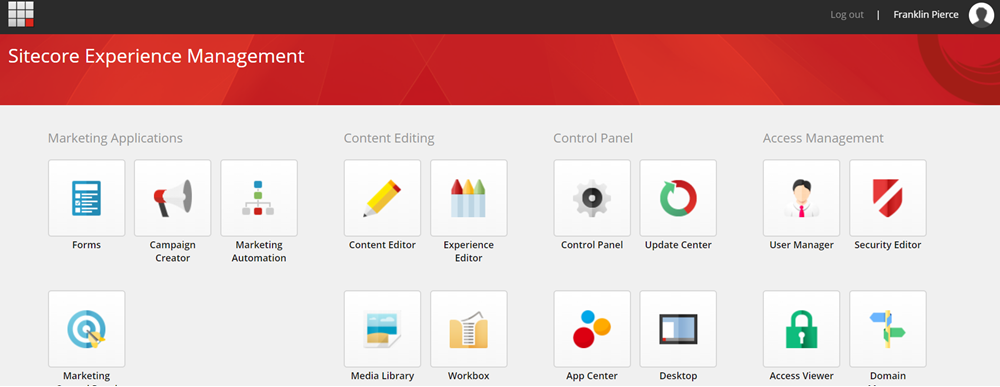
Let's test this out with a user from New Hampshire, and one from Massachusetts. When my NH user authenticates, the state claim maps properly and they're allowed to log in and are mapped to an Admin user. Hooray!
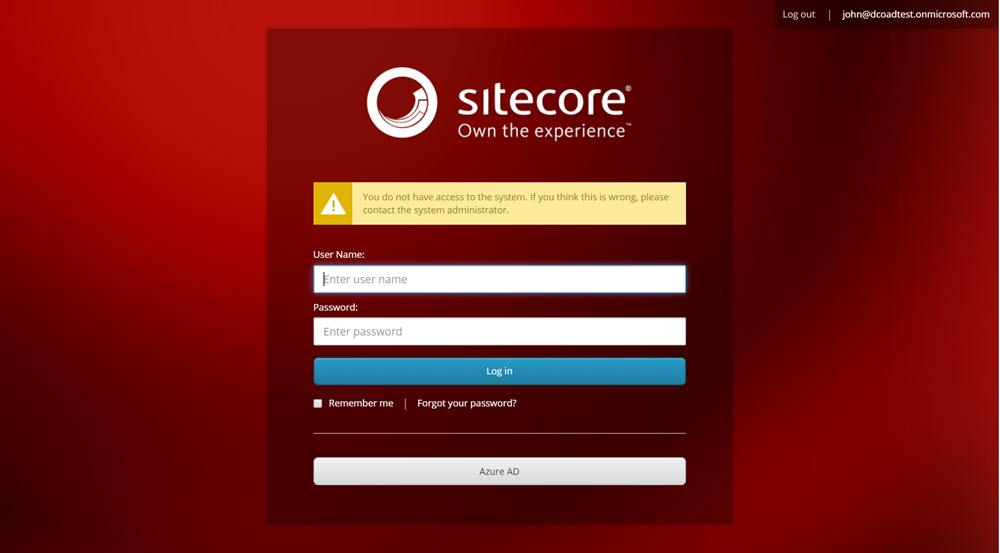
And our Massachusetts friend:
Where to go from here
This was a silly example as you'd not want to map location to Sitecore role, but it did demonstrate how you can get nonstandard Azure AD attributes to Sitecore via Claim Mapping Policy. Some (likely) more useful ideas for this include:
- Custom Attributes that you want to use in your business logic.
- Additional name or property claims you want to map in a user profile.
- Other, smarter things I haven't thought of.
Acknowledgements
I did get the idea for using Claim Mapping Policy from reading the Azure documentation, but this blog post from Marudhamaran Gunasekaran is what got all of the pieces to fit together for me. Additionally, Marudhamaran's blog has a helpful script for deleting any Claim Mapping Policies from an SP – hopefully you will find it as useful as I did!